Off-ice stickhandling drills sharpen your puck control, hand speed, and head-up confidence without ice time. With a stick, a puck or ball, and a small flat space, you can run through 10 progressive drills, from basic dribbles to full game-simulation sequences. Aim for 15 to 20 minutes a day, five days a week, and you will see real gains inside a month.
Key Takeaways
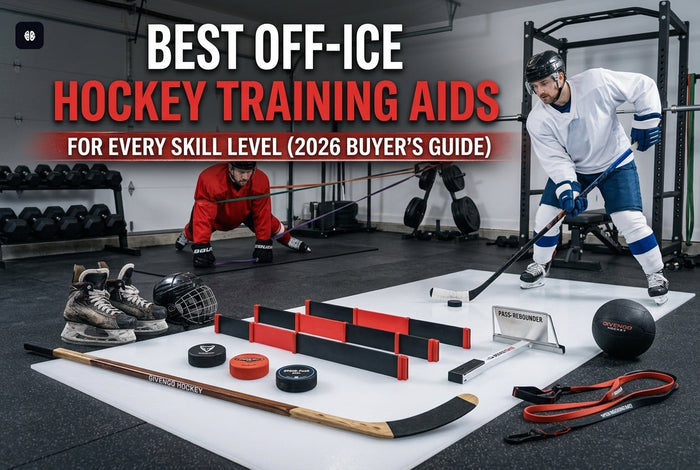
- All you need is a stick, a puck or a ball, and a flat surface. No rink time required to build serious hands.
- Use a slightly shorter stick off-ice since you are not wearing skates and your stance sits taller.
- Beginner drills build blade control, intermediate drills add range and speed, and advanced drills layer in movement and game-speed reactions.
- A daily 15 to 20 minute routine produces noticeable results within four to six weeks of consistent reps.
- Mix surfaces and tools, shooting pad, dryland tiles, smooth concrete, plus a Green Biscuit, weighted puck, or stickhandling ball, to vary the demand on your hands.
What Do You Need to Get Started?
A stick, a puck or ball, and a small flat surface. That is the floor.
To get more out of every session, the right setup makes a real difference:
- Surface: shooting pad, dryland tiles, smooth concrete (a clean garage works), or synthetic ice.
- Puck options: Green Biscuit for a sliding feel, a wooden stickhandling ball for quick hands, and a weighted puck for forearm strength.
- Stick choice: Use a stick that is roughly an inch or two shorter than your on-ice stick. You are taller in shoes than on skates, so a regular stick can feel awkwardly long.
Quick tip: A 4-by-8-foot dryland surface is enough. You do not need a basement gym, just a clean spot you can step onto every day.
How Should You Run a Beginner Drill Session? (Drills 1 to 3)
These three build the base. Master them before adding speed or movement.
Drill 1: Basic Forehand-Backhand Dribble
Hands shoulder-width on the stick. Keep the puck centered on the blade, cup the blade slightly, and roll your wrists in a steady rhythm.
The cue: stay smooth, not rushed. After thirty seconds, lift your eyes off the puck and keep them up. Two minutes of clean dribbling, head up, is the goal.
Drill 2: Wide Reach Stickhandling
Push the puck out to your forehand side, then sweep it across to your backhand side using full arm extension. This trains the protection range you need against defenders.
Once you have steady two-hand control, try one-hand reaches on each side. Add a slight weight shift onto your outside leg to mimic real game movement.
Drill 3: Figure-8 Around Obstacles
Place two objects (pucks, gloves, water bottles) about shoulder-width apart. Weave the puck around them in a figure-8, alternating forehand and backhand control.
Once it gets clean, slide the obstacles wider, up to five or six feet apart, to build longer reaches. A triangle of three obstacles is the next level when you are ready.
What Do Intermediate Drills Look Like? (Drills 4 to 7)
Now you add deception, range, and tempo. Pace matters, but clean reps matter more.
Drill 4: Toe Drag Pull
Place the puck on your forehand. Pull it across your body using just the toe of the blade, then move it back. This is the setup behind almost every great deke at every level.
Start slow. Real speed comes from clean reps, not muscled reps. Once it is smooth, chain a toe drag straight into a wide forehand push.
Drill 5: Around-the-World
Stand still and move the puck in a full circle around your body, behind your back, and out front again. Use both hands and trust the blade to do the work.
Cue: knees bent, core engaged. The puck moves; your feet do not. This drill is harder than it looks at full speed.
Drill 6: Rapid-Fire Obstacle Course
Set up 5 to 8 obstacles in a zigzag pattern across your training space. Stickhandle through them at speed, turn, and come back the other way.
Use a timer. Track week-over-week. The goal is not to look pretty; the goal is to shave seconds without losing the puck. This single drill is one of the best progress markers in any home program.
Drill 7: Pass-and-Handle Combo
Use a passer or rebounder. Send a pass, receive the rebound on your blade, immediately weave through 3 obstacles, then pass again.
This drill rebuilds the moment most young players lose the puck, the transition between receiving and carrying. A passer with flat returns makes the rebound realistic and lets you string reps together without chasing pucks across the garage.
How Hard Are the Advanced Drills? (Drills 8 to 10)
These reward consistency. Do not rush them. They are designed to expose weak points so you can fix them.
Drill 8: The McDavid Crossover Drill
Stickhandle while doing lateral crossovers, on rollerblades, or just on your feet. Add a stickhandling ball to ramp up the demand on your hands.
It is deceptively brutal. Five minutes feels like fifteen. The lateral crossovers force your eyes off the puck because you have to watch your footwork, which is exactly the point.
Drill 9: Blindfold (Eyes-Closed) Handling
Close your eyes. Dribble by feel only. Start with basic forehand-backhand, then layer in figure-8s and toe drags.
This is the drill that builds blade awareness. You stop relying on your eyes because you can feel where the puck sits on the blade. Translates directly to head-up play in traffic.
Drill 10: Full Sequence Game Simulation
Combine everything: receive a pass from a rebounder, stickhandle through an obstacle course, hit a toe drag at the end, and finish with a shot on a target.
Time the full sequence. Compete against your own best time, week by week. This is where the gains compound. Pair a passer with a shooter tutor, and you have built a real shooting station in your driveway.
What Are the Most Common Stickhandling Mistakes?
A few patterns kill progress. Watch for these:
- Looking down at the puck. Train head-up from week one, even if you mishandle more. Visual habits are hard to undo later.
- Death-grip on the stick. Soft hands need a soft grip. Squeeze, and you lose touch. Re-check your grip every minute.
- Same drill, every day. Your hands adapt fast. Rotate drills weekly so the demand keeps changing.
- No timer, no tracking. Without measurement, you do not know if you are improving. Use a stopwatch on at least one drill per session.
- Skipping the warm-up. Thirty seconds of slow dribbling and a few wrist circles are enough. Cold wrists snap.
How Do You Build a Daily Stickhandling Routine?
Fifteen to twenty minutes a day. Five days a week. That is the formula. Less is fine if life gets in the way; more is great if you are recovering well.
A simple weekly split that works for most players:
- Monday, Wednesday, Friday: drills 1 to 5 (basics + intermediate).
- Tuesday, Thursday: drills 6 to 10 (speed + advanced).
- Saturday: light skill work, free play, or full rest.
Track progress: time yourself on Drill 6 and Drill 10 once a week. Film yourself once a month. Compare. The phone camera is the most underrated piece of training gear in the sport.
If you want a structured progression that takes the guesswork out, plug into a coached program built around hockey-specific skill development.
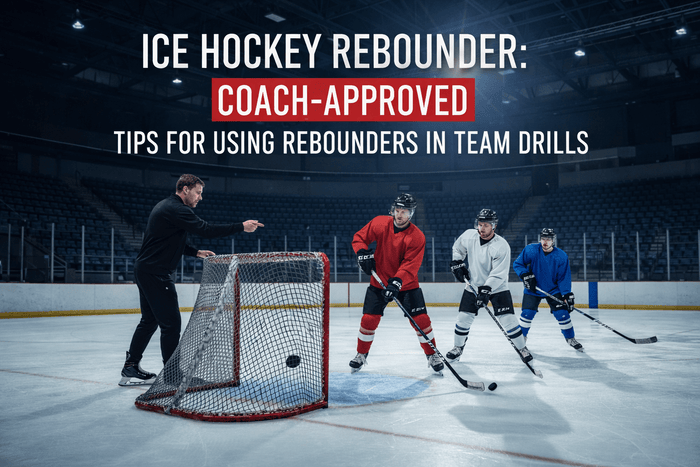
When Should You Get a Coach Involved?
Off-ice drills get you most of the way there. The last layer, in-game decision-making, timing under pressure, and the read on a 1-on-1, comes from coached reps and structured programming.
If you have been grinding daily for a few months and you are hitting a wall, that is the signal. Explore Give-N-Go Hockey for structured progressions that take what you have built at home and translate it into game-ready habits.
Frequently Asked Questions
How long does it take to see results from off-ice stickhandling?
Most players notice a better feel and confidence within two to three weeks of daily practice. Measurable speed gains, faster obstacle course times, and cleaner toe drags usually show up around the four to six week mark with consistent 15-minute sessions.
Is a stickhandling ball better than a puck for off-ice work?
Different tools, different goals. A stickhandling ball moves faster than a puck, so it sharpens hand speed and reaction time. A real puck or Green Biscuit gives you a more game-realistic feel. Use both. Rotate by drill or by day so neither one feels foreign on the ice.
Can I do these drills indoors without a shooting pad?
Yes. Smooth concrete, hardwood (lay down a tarp or rubber mat to protect the floor), tile, or a smooth piece of plywood works. A shooting pad is ideal because it mimics ice friction, but the drills themselves do not require one to be useful.
How do I keep my head up while stickhandling?
Train it on purpose. Tape a list of letters or numbers to a wall and call them out as you dribble. Watch a TV with subtitles. Have a teammate hold up fingers across the room. Force your eyes off the puck, and your hands will learn to work without them.
Will doing stickhandling at home help my shot, too?
Indirectly, yes. Better hands mean cleaner releases, faster setups, and more time on the puck before you shoot. Pair stickhandling with shooting reps, especially Drill 10's full sequence, to build a complete offensive skill set.
How short should my off-ice stick be?
A common rule: about one to two inches shorter than your on-ice stick. You are not wearing skates, so your stance is taller, and a regular stick can feel awkwardly long. Many players just keep an old, slightly cut-down stick as a dedicated dryland tool.