You can improve your hockey shot at home by training three things in order: accuracy first, then power, then release speed. Set up a small shooting space, pick specific targets instead of shooting at the net, build power from your legs and core, and practice getting the puck off in one motion. Twenty to thirty focused minutes a few times a week is enough to see real change in a few weeks.
The best scorers in the NHL do not build their shot during games. They build it at home, in driveways and garages, one rep at a time. Ice is limited and costs money, so muscle memory gets made off the ice. That is good news, because it means the work is in your hands.
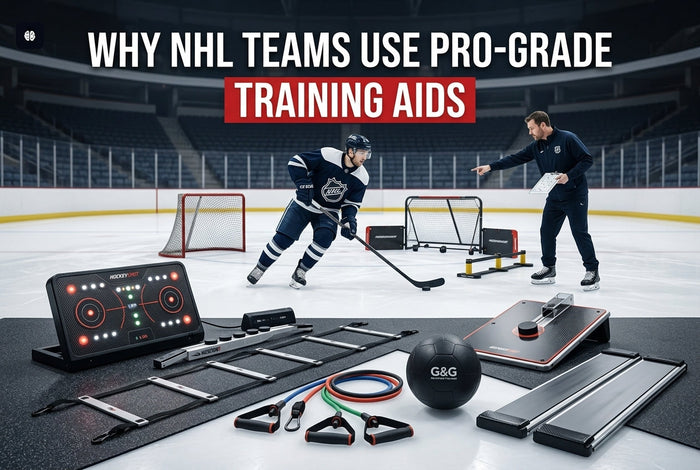
This guide covers the three pillars every great shot is built on: accuracy, putting the puck exactly where you want it; speed, generating more power; and release, getting the shot off before the goalie is set. These are the same principles players use when they train with Give-N-Go equipment.
Key Takeaways
- Accuracy comes first. A 40 mph shot that hits the corner beats a 60 mph shot that misses.
- Power comes from legs, core, and stick flex, not arms. Most players waste over half their potential.
- A fast release, not a hard shot, is what separates scorers from shooters.
- A simple home station- a surface, a backstop, and pucks- removes the number one excuse to skip practice.
- Track your numbers. Counting hits and timing reps turns vague practice into measurable progress.
Setting Up Your Home Shooting Station
Before the first shot, sort out the space. You need less than people think. A 10 by 15 foot area is ideal, and 8 by 12 will do.
Surface matters. A shooting board gives a realistic puck slide and protects your blade. Smooth concrete works fine if you are shooting balls or Green Biscuits instead of pucks. For a backstop, a shooter tutor doubles as your target and your net protection. A net with a tarp behind it works too. Whatever you use, keep distance from walls and protect the garage door, because a hard wrist shot will dent it.
Stock your pucks. Real pucks on a shooting board, Green Biscuits on rougher ground. Warm up your hands with a few passes off a passing aid before you start firing. This one section solves the biggest barrier to home practice, which is simply not having a place to do it.
Pillar One: Sharpening Your Accuracy
Accuracy is the most important shooting skill, full stop. Goalies cover the middle. Goals live in the corners. Train to hit them.
Always Pick a Target
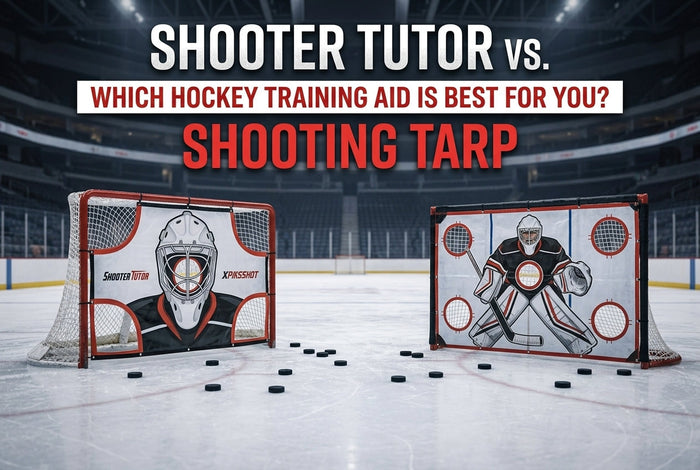
Never shoot at the net. Shoot at a spot. Use a tutor with numbered targets, like the eleven-target professional model, or tape markers to a net.
Start stationary, 10 to 15 feet out. Pick one target and hit it ten times before you move on. Track your hit rate so you have a number to beat next time.
The mechanics that drive accuracy: eyes on the target, not the puck. Transfer your weight from the back foot to the front. Follow through pointing right at where you want the puck to go. Simple, but most players skip at least one.
Corner-Picking Drills
- Four corners rotation: ten pucks to each corner, top left, top right, bottom left, bottom right, in sequence.
- Called shots: have someone shout a corner just before you shoot. This trains fast target acquisition under a little pressure.
- High-low sequence: alternate a high target and a low target to build the ability to change elevation on demand.
Log your accuracy percentage across sessions. When the number climbs, you know the work is paying off.
Shooting on the Move
Games almost never give you a clean, stationary shot. Add movement gradually.
First, walk forward two or three steps, then shoot at your target. Next, slide a couple of steps laterally and shoot. Then pull the puck from forehand to backhand and release. Most players lose 30 to 40% of their accuracy the moment they move. Reps close that gap.
Pillar Two: Building Real Shot Power
Power is not about arm strength. It is about sequencing your whole body so the stick does the work.
Where Power Actually Comes From
Three sources: leg drive through weight transfer, core rotation through the hips and shoulders, and stick flex. Players who shoot with their arms alone leave roughly 60% of their power on the table.
The cues are straightforward. Push off the back foot. Rotate hips and shoulders together. Pull with the top hand while you push with the bottom hand. Let the shaft load and snap. Go slow first to feel the sequence, then add speed once it clicks.
Off-Ice Strength That Helps
A handful of exercises build the muscles a shot uses:
- Wrist curls for forearm and stick control.
- Russian twists for rotational core power.
- Single-leg squats for leg drive.
- Resistance band rotations to load the actual shooting motion.
- Medicine ball throws for explosive rotation.
Three sets of ten, two or three times a week, is plenty. Adding lower-body power work with agility hurdles carries straight into a stronger base.
Weighted Puck Work
Train with a heavier puck, or stack two pucks, for short blocks. Shoot ten weighted, then ten regular. The regular puck will feel light and fly off faster. One warning: never use weighted pucks only. Alternate, or your mechanics will drift.
Pillar Three: Developing a Lightning Release
This is the pillar competitors ignore, and it is the one that scores goals. Release speed separates the players who shoot from the players who score.
The Quick-Release Technique
Watch an average player: receive, look up, look down, set the puck, wind up, shoot. Watch a scorer: receive and shoot in one motion. The difference is eliminating steps.
Practice catching a pass off a rebounder or passing aid and releasing within one second. The puck moves from receiving position to shooting position with a single hand motion, not a full reset. Train that until it is automatic.
One-Touch Shooting Drills
- Rebounder one-timers: pass into the aid, take the return, shoot immediately. Focus on timing, not power.
- Rapid fire: line up five pucks and shoot each as fast as you can with clean form.
- Clock drill: set eight pucks in a circle around you, pick a target, and fire each one as quickly as possible. Chase all eight in under 15 seconds.
Train Your Off-Hand and Backhand
This is the most neglected work in hockey, and it is a cheat code. Goalies read your shooting position. If you can release from unexpected angles, you score more.
Spend about 20% of your shots on your off-hand. For the backhand, run the same target work as the forehand, starting slow and controlled. A quick backhand release from in close is a weapon almost nobody develops.
Track Your Progress Like a Pro
What gets measured gets better. Keep a simple log: target, shots taken, shots made, and the date. A notebook in the garage works fine. After two weeks, patterns jump out. Maybe your top-left corner is money, but the bottom-right is a coin flip. Now you know exactly where to spend your next session.
Timing matters too. Use your phone to time the clock drill and the rapid-fire block. Watching that number drop, even by a second or two, is the kind of feedback that keeps you coming back. Numbers turn practice from a chore into a game you are trying to win against last week's version of yourself.
A Complete 30-Minute Home Shooting Workout
Here is a session you can run today. Repeat it three or four times a week.
- Warmup, 5 minutes: stickhandling with a ball to loosen the hands.
- Accuracy block, 10 minutes: 40 shots at specific targets, tracking your hit rate.
- Power block, 8 minutes: 20 full-power shots focused on weight transfer and flex.
- Release block, 5 minutes: 20 quick-release shots focused on speed, not power.
- Cool-down, 2 minutes: slow, controlled shots with perfect mechanics.
That is it. Short, focused, repeatable. The players who run something like this on a schedule are the ones whose shot looks different by the playoffs.
Common Shooting Mistakes and How to Fix Them
Five mistakes show up over and over. Fix these and your shot jumps.
- Watching the puck instead of the target. Your shot follows your eyes, so keep them on the spot you want to hit.
- No weight transfer. Arm-only shots have no power. Drive off the back foot into the front.
- Choking up too high on the stick. You lose flex and leverage. Find a hand position that lets the shaft load.
- No follow-through. Stopping short kills accuracy and power. Finish pointing at the target.
- Always shooting from the same spot. Real shots come from everywhere. Move around and vary your angles.
Essential Home Shooting Equipment
Here is what lets you train like a pro at home. Keep it simple and buy quality once.
- A shooting board for a realistic slide and blade protection.
- A shooter tutor with eleven numbered targets so you can track accuracy and chase corners.
- A passing aid for pass-and-shoot and one-timer reps.
- Pucks for the board and Green Biscuits for rougher surfaces.
Everything is made in the USA, professional grade, backed by a lifetime guarantee, and used by all 32 NHL teams. Browse free drills to pair with your gear, or see the full lineup of training aids to round out your station.
Frequently Asked Questions
Can I practice hockey shooting in my garage?
Yes, with a proper setup. Use a shooting board or smooth surface, a backstop or shooter tutor, and keep distance from walls and the garage door. A 10 by 15 foot space is plenty.
How many pucks should I shoot per day?
Aim for 50 to 100 quality reps. The number matters less than the focus. Fifty sharp shots at real targets beat 200 lazy ones.
Will a shooting pad damage my stick?
No. A proper shooting board is designed to protect your blade and mimic ice, so your stick lasts longer than it would on bare concrete.
What is the best surface for off-ice shooting?
A shooting board for pucks, or smooth concrete for balls and Green Biscuits. The board gives the most realistic puck slide and release.
How do I improve my wrist shot at home?
Mechanics first, reps second. Lock in weight transfer, hand position, and follow-through, then add volume. Accuracy work on a target speeds it up.
Can I improve my slapshot at home?
Yes, if you have the ceiling height and a solid backstop. Focus on flex and timing, and use a shooting board to protect your blade.
How long until I see improvement?
Most players notice a sharper, faster shot within two to three weeks of consistent, focused practice. Tracking your numbers makes the progress obvious.
What is the best shooter tutor for home use?
One with multiple numbered targets so you can aim at specific spots and track progress over time. The eleven-target professional model is built for exactly that.
Take Your Shot to the Next Level
Accuracy, speed, and release can all be improved dramatically at home, with consistent practice and the right setup. Pick your targets, build power from the ground up, and train that one-motion release until it is automatic. The reps add up faster than you think.
Ready to build your station? Call 248-831-1692 or reach out with questions, and grab your free Green Biscuit with every hockey equipment order. Shop shooter tutors and shooting gear and start putting pucks where you want them.