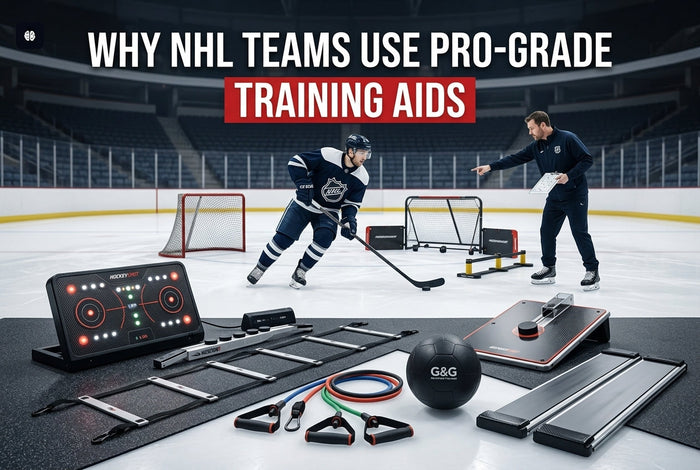
Ice time runs $400 to $600 an hour. Your garage is free. That gap is exactly why a home training space pays for itself, often inside a single season. Most players who improve fast are not skating more; they are training more, and they are doing it three feet from the breaker box. This guide walks through the whole build, weekend by weekend. By the time you finish reading, you will have a gear list, a floor plan, and a weekly drill schedule that fits a one-car garage or a two-car garage. NHL teams already use dedicated off-ice stations for passing, stickhandling, and shooting every single day. You can copy that approach without a pro budget.
A hockey training space in your garage needs three things: a smooth shooting surface, a fixed passing target, and at least 10 by 20 feet of clear floor. Add a regulation net, a rebounder, and a stickhandling trainer. Most players build a solid setup for under $800. The same off-ice tools used by all 32 NHL teams work in your garage.
Key Takeaways
- A single-car garage gives you enough space for passing and stickhandling drills.
- Flooring is the biggest decision. Skip bare concrete and choose a shooting pad or dryland tiles.
- A solid rubber bumper passing aid mimics real boards better than bungee rebounders.
- Wall protection and a backstop matter as much as the equipment itself.
- Twenty focused minutes a day beats two hours of unfocused shooting on weekends.
Why Every Serious Hockey Player Needs a Home Training Space
Here's the deal. Players who train at home develop faster than players who only practice at the rink. Not because they work harder, but because they get more reps. A 30-minute garage session three times a week is 90 minutes of pure puck work. Try booking that much extra ice time, and your wallet will tap out by November.
Cost is the obvious win. Ice fees disappear. Driving disappears. The setup itself often pays back in two months of skipped private ice. Consistency is the bigger win, though. Skill builds through repetition, you actually look forward to, and a garage station removes every reason to skip a session. No bag to pack, no rink to drive to, no goalie waiting.
Isolation matters too. On the ice, drills mix everything together: skating, passing, awareness, and conditioning. At home, you can isolate one weakness and drill it for 20 minutes. Backhand passes feel stiff? Hammer them. One-timer not catching the puck flat? Fix it tonight. Every NHL team uses Give-N-Go passing aids in their off-ice setups for exactly that reason. Trust me, if it works for the pros, it works for a Bantam player in Detroit.
Step 1: How Much Garage Space Do You Need?
Before you spend a dollar, measure. Most garages give you more usable space than you think once the bikes, lawnmower, and recycling bins find a new home.
- Minimum for stickhandling only: 8 by 10 feet of floor and an 8-foot ceiling.
- Minimum for shooting and passing: 10 by 20 feet and a 9-foot ceiling so a stick lift clears.
- Single-car garage (about 12 by 20): Fits passing, stickhandling, and a corner shooting lane.
- Two-car garage (20 by 20): Fits a full station with two players training at once.
- Power: Plan at least two outlets for shop lights and a small Bluetooth speaker.
Walk the space with a tape measure first. Mark the rough zones with painter's tape on the floor. Stand in each zone with your stick and take a slow shot motion. If your follow-through hits a wall or your car bumper, the lane is too tight. Adjust before you buy gear, not after.
Step 2: What Is the Best Flooring for an Off-Ice Setup?
Flooring is the single biggest decision in the build. Get it wrong, and you'll grind your stick blades down in a month. Get it right, and the same setup feels game-realistic for years.
| Surface | Price Range | Best For | Puck Feel | Skating? | Durability |
|---|---|---|---|---|---|
| Bare concrete | Free | Avoid shooting | Poor, kills blades | No | Hard on gear |
| Shooting pad | $70 to $200 | Shooting and passing in one spot | Smooth, close to ice | No | 5+ years |
| Dryland tiles | $200 to $500 | Larger zones, mixed drills | Smooth and quiet | No | 5 to 10 years |
| Synthetic ice tiles | $500 to $2,000+ | Skating in skates at home | True ice glide | Yes | 10+ years |
Most players land on dryland tiles because they cover real floor area without breaking the bank. Synthetic ice is the dream, but only worth it if you can commit to at least 50 square feet and ventilation. A small shooting pad is a perfect starter pick for a tight garage. Whatever you choose, never shoot off bare concrete; your stick blade will lose half its life in a week.
Step 3: How Do You Set Up the Shooting Zone?
The shooting zone needs three things: a sturdy net, wall protection, and clear sight lines to a target. Place the net against the strongest wall, not the garage door, and never directly across from a window.
- Regulation net: Pick a folding 6 by 4 youth net or a full size, depending on age. Expect $80 to $150.
- Backstop tarp or netting: $150 to $300. Stops bouncing pucks and protects drywall.
- Wall protection: Two sheets of half-inch plywood after the net handle wrist shots and snaps.
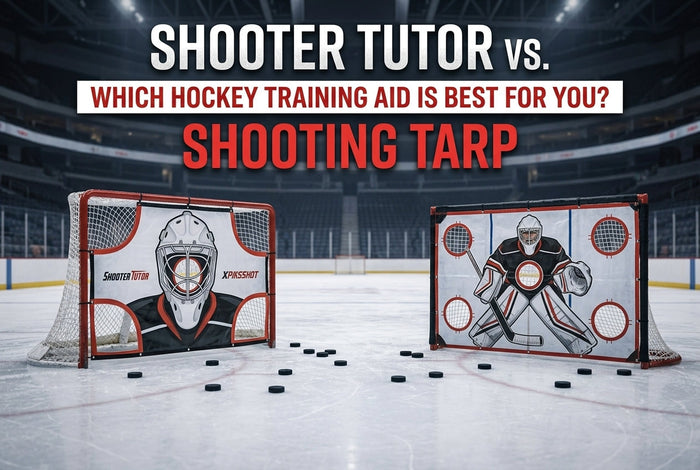
- Shooting targets: A target tutor turns blind shooting into accuracy training fast.
- Pucks: Keep 50 to 100 pucks within arm's reach. Mix in Green Biscuits for off-ice glide.
A Professional Grade Shooter Tutor covers the goal with 11 numbered target zones, six high-scoring and five average-scoring. Calling out a number before each shot turns boring slap practice into a mental rep. Position the net perpendicular to the garage door if you can, then hang a thick canvas tarp behind it for runoff pucks.
Step 4: How Do You Build the Passing and Receiving Station?
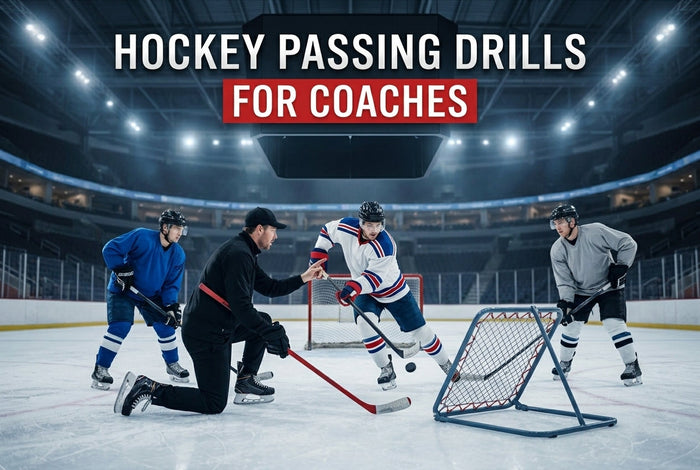
Passing is the most undertrained skill in youth hockey. Last Tuesday, a Squirt coach told me his team had spent eight straight practices on shooting and zero on receiving. No wonder breakouts looked like a fire drill. A passing aid fixes that fast because it gives you hundreds of game-realistic reps in 15 minutes.
There are two types of passing trainers. Bungee rebounders use an elastic band that springs the puck back. Solid bumper passers use a rubber surface that returns the puck the way real boards do. The feel is completely different. The bumper returns are predictable and proportional, which matters for one-timer practice. The Give-N-Go design is the first hockey rebounder to use solid rubber bumpers, and the patent-pending design is used by every NHL team.
- For tight spaces: The 30-inch off-ice model fits in a single-car garage and weighs 19 pounds.
- For full stations: The 60-inch on-ice model gives you a full five-foot target on each side.
- Setup tip: Place the passer 8 to 12 feet from your shooting lane so you can pass, receive, and shoot in one motion.
Three drills to start with. Give-and-go reps, you pass, the bumper returns, you one-time it. Backhand receiving, force the catch on your blade's back side. Quick releases off the catch, no settling the puck, no extra touch, just receive and snap. Twenty reps of each, both sides, every session.
Step 5: How Do You Add a Stickhandling Area?
Stickhandling needs the least space and pays the highest returns. A 4 by 6 foot pocket is enough. Place it between the shooting and passing zones so you can flow between drills without resetting your gear.
- Stickhandling trainer: A five-sided design like the Fast Hands stickhandling aid forces every angle, not just front-to-back.
- Cones or pucks: Six markers create unlimited weave patterns.
- Tennis balls: Cheap, bouncy, brutal on hand-eye coordination.
- Green Biscuits: Mimic puck weight off-ice. Don't bother with regular pucks on smooth tiles.
The Fast Hands tool ships with 25 drills in book and video form. Spend the first two weeks burning through them in order so your hands learn every motion before you start improvising.
Step 6: What About Lighting, Safety, and Wall Protection?
This is the section everyone skips. Don't. A puck takes a chunk out of drywall in one second, and a tendon takes months to heal. Spend an hour up front and avoid the headaches.
- Lighting: Two LED shop lights ($30 to $60 each) hung above the shooting and passing zones. Daylight color, 5000K or higher.
- Eye protection: Cheap shop goggles when shooting solo. Ricochets happen.
- Footwear: Cross-trainers on dryland tiles. Never wear socks on synthetic ice.
- Ventilation: Crack the garage door or run a fan if you train for more than 20 minutes. Sticks sweat, you sweat more.
- Composite sticks: Cold concrete cracks blades. Keep sticks above 40 degrees; store them in the house in winter.
- First-aid kit: Bandages, tape, ice pack. Bolted to the wall, not buried in a drawer.
How Much Should You Spend? Three Budget Tiers
| Tier | Budget | Core Gear |
|---|---|---|
| Starter | $200 to $350 | Shooting pad, folding net, Green Biscuit, 50 pucks, cones, one shop light |
| Intermediate | $500 to $800 | Dryland tiles, 30-inch passing aid, stickhandling trainer, backstop tarp, two shop lights |
| Elite | $1,000 to $2,000+ | Full tile floor, 60-inch passing aid, shooter tutor, multiple training aids, agility hurdles, backstop netting |
The Intermediate tier is the sweet spot for most families. You get real shooting, real passing, and real stickhandling without overspending. The Elite tier makes sense if two siblings train together or you want a competitive edge for a travel team. Check dryland training kits for bundle pricing that beats piecing things together.
Sample Weekly Training Schedule
A garage station only works if you actually use it. The schedule below is built around 20-minute sessions, which is plenty when every minute is focused work. Add a fifth day of cardio or scrimmage and call it a week.
-
Monday: Stickhandling drills, 20 minutes. Run the full 25-drill rotation.
-
Tuesday: Shooting accuracy, 25 minutes. Wrist, snap, slap. Targets only.
-
Wednesday: Rest or light cardio. Stretch, foam roll.
-
Thursday: Passing and receiving, 20 minutes. Backhand emphasis.
-
Friday: Combined circuit, 30 minutes. Pass, receive, shoot, repeat.
-
Weekend: Free play, scrimmage with friends, or drill library picks.
Consistency beats duration every time. Twenty focused minutes daily compound faster than two-hour weekend marathons.
Mistakes Every First-Time Builder Makes
-
Shooting on bare concrete. Grinds your blade in a week.
-
Skipping wall protection because you trust your aim.
-
Buying the cheapest rebounder. It will fail by spring.
-
Setting up too close to the garage door. One ricochet later, you'll regret it.
-
Owning ten pucks. Fifty is the minimum; 100 is better.
-
Training without targets or structure. Aimless reps build aimless players.
Frequently Asked Questions
How much space do I need for a hockey training area in my garage?
An 8-by-10-foot area is enough for stickhandling. For full passing and shooting, plan for 10 by 20 feet with a 9-foot ceiling. A standard one-car garage works for most setups.
Can I practice hockey in a one-car garage?
Yes. A one-car garage fits a shooting pad, a 30-inch passing aid, a stickhandling trainer, and a youth net. You will give up parking, but the trade is worth it during the season.
What is the best flooring for off-ice hockey training?
Dryland tiles offer the best balance of price, puck feel, and durability for most home setups. Synthetic ice is the premium choice when you want to skate in actual skates. Skip bare concrete because it destroys stick blades.
How do I protect my garage walls from puck damage?
Hang a heavy canvas backstop tarp behind your net, then add half-inch plywood sheets on the wall behind that. The tarp absorbs runoff pucks, and the plywood handles direct shots that miss.
Is synthetic ice worth the investment for home training?
Synthetic ice is worth it when you have at least 50 square feet, can keep the surface clean, and plan to skate in real hockey skates. For passing, shooting, and stickhandling alone, dryland tiles do the same job at a fraction of the cost.
Build Yours This Weekend
A garage hockey training space is the cheapest skill upgrade in the sport. Pick your flooring, mount your net, set your passing aid, and start the rotation Monday morning. Two weeks in, you will feel the difference. Eight weeks in, your coach will. Shop the full lineup at all hockey training aids or call 248-831-1692 if you want help picking the right bundle. Every product is made in Michigan and backed by a lifetime guarantee, so it stays in the garage as long as you do.