Learning how to improve your wrist shot is the fastest way to score more goals, because the wrist shot beats every other shot for the job. It scores more goals at every level than any other release – quicker than a slap shot, more accurate than a snap shot, and harder for goalies to read.
This guide breaks down the full mechanics, shows you how to add power, and gives you drills you can do at home tonight.
Key Takeaways
-
A powerful wrist shot comes from weight transfer and stick flex, not arm strength.
-
The pull-push-snap sequence loads energy into the shaft and releases it into the puck.
-
Release point controls direction – heel of the blade sends the puck low, toe sends it high.
-
The three biggest mistakes are hands too close, pushing instead of snapping, and cutting the follow-through short.
-
Off-ice reps on a shooting board build the same mechanics and muscle memory you use on the ice.
Why the Wrist Shot Is Hockey's Most Dangerous Weapon
The wrist shot is the shot that fills the net. It has the fastest release, so it beats the goalie before he is set. It is the most accurate, so you can pick a corner. And because there is no big windup, it is the hardest shot to read - the goalie has no cue to track.
Slap shots look flashy, but at every level from youth to pro, the wrist shot scores the most goals. If you only sharpen one shot, sharpen this one.
The 5 Phases of a Powerful Wrist Shot
Great shooters all move through the same sequence. Break it into five phases, and you can fix any weak link.
-
Grip and hand position: Top hand controls the blade angle, bottom hand sits far enough down the shaft to bend it. Keep the puck out to your side, not under your feet.
-
Puck placement on the blade: Start the puck toward the heel and cup it slightly so it rolls across the blade during the shot for a flat, spinning release.
-
Weight transfer back to front: Drive your weight from the back foot to the front foot as you shoot. This is where most of your power comes from, not your arms.
-
Stick flex and load: Press the blade into the ice or surface so the shaft bends and stores energy, like drawing a bow.
-
Wrist snap and follow-through: Snap the top wrist and roll the bottom hand as the stored energy releases, then follow through toward your target to control height.
Learn it as pull-push-snap: pull the puck back, push the shaft to load it, snap the wrists to fire. When those three moves blend into one motion, your shot gets both harder and quicker.
Using Stick Flex to Your Advantage
Stick flex is the secret behind a heavy shot, and most players ignore it. When you press the blade down and lean your weight into the shaft, the stick bends and stores energy.
Release that bend at the right moment and it whips the puck forward – the bow and arrow of hockey. The harder you load it and the better your timing, the more the stick does the work for you.
Flex has to match your size and strength, though. Too stiff and you cannot bend it, so you lose the whip entirely. Too soft and it bends too easily and affects your accuracy.
A common starting point is a flex rating near half your body weight, then adjust from there based on feel. Bigger, stronger players go stiffer; younger and lighter players go softer so they can actually load the shaft.
Release Point: How to Control Where the Puck Goes
Accuracy is not luck – it is release point. Where the puck leaves the blade decides where it goes. Release off the heel and the puck stays low; release off the toe, and it climbs. Blade angle does the rest: an open blade lifts the puck, a closed blade keeps it down.
Good shooters can pick corners without staring at them because they control these two levers instead of aiming with their eyes. Practice releasing from different spots on the blade and you will start hitting spots on command.
3 Common Wrist Shot Mistakes (and Quick Fixes)
-
Hands too close to the body – fix: Push the puck out to your side and get the bottom hand down the shaft so you can actually load the flex.
-
Pushing instead of snapping – fix: Think snap, not shove. The power is in the wrist roll and weight transfer, not a slow push.
-
Cutting the follow-through short – fix: Finish with the blade pointing at your target. A full follow-through controls both power and height.
On-Ice Wrist Shot Drills
Build the shot in layers. This three-part progression takes you from a still puck to a game-speed release.
-
Stationary shooting: Plant your feet and groove the mechanics slowly, focusing on weight transfer and follow-through before you add speed.
-
Shooting in stride: Shoot while skating so you learn to load and release without stopping. This is how most game shots happen.
-
Shooting after receiving a pass: Catch a pass and shoot in one motion, cushioning the puck and firing before the goalie sets.
-
Quick-release from stickhandling: Handle the puck, then snap a shot off with no windup to train a deceptive, fast release.
For more structured shooting sequences to add to practice, our hockey drills page has ready-to-run options.
Off-Ice Wrist Shot Drills You Can Do at Home
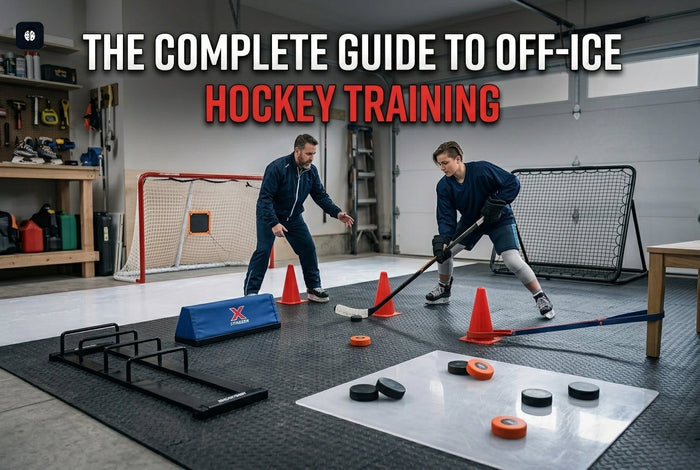
This is where players separate themselves. On-ice time is limited, but off-ice reps are unlimited, and they build the exact mechanics you use in a game. A shooting board gives you a slick surface so every rep feels close to the real thing.
-
Shooting board reps: Fire from a stationary stance, then from one knee, then in motion. Focus on a full load and follow-through, not just volume.
-
Weighted-puck wrist curls: Roll a weighted puck on the blade to build the forearm and wrist strength behind your snap.
-
Flex-pop drill (no puck): Press the blade into the surface, load the shaft, and pop it back to feel the flex release without a puck.
-
Target practice: Set up a shooter tutor or tarp and aim for specific corners so accuracy improves alongside power.
Adding a Fast Hands stickhandling aid before your shooting reps lets you train quick hands and a quick release back to back, which is exactly how the two skills combine in a game.
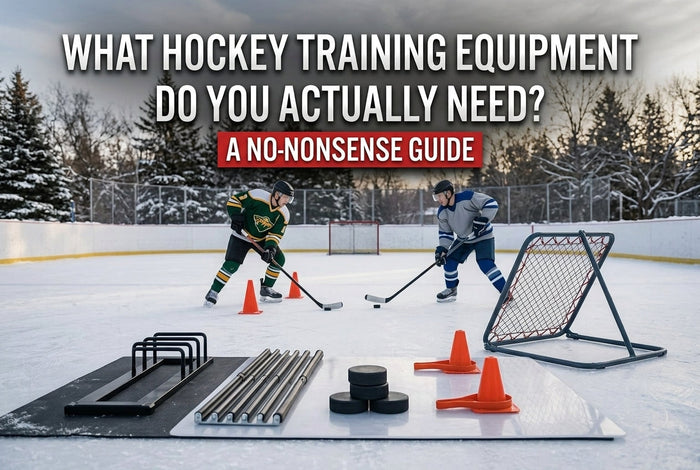
Building Your Off-Ice Shooting Setup
You need less than you think to build a real shooting station. Here is the minimum gear that covers power, accuracy, and reps.
-
Shooting board – a smooth surface that protects your blade and replicates ice glide.
-
Training pucks – a mix of regulation and weighted pucks for reps and strength.
-
Backstop or shooting tarp – catches pucks so you spend time shooting, not chasing.
-
Shooter tutor – numbered targets that turn practice into a corner-picking game.
Space matters less than you would guess – a corner of the garage works. Our Professional Grade Shooter Tutor adds 11 numbered targets so every shot has a goal, and our dryland training kits bundle the shooting essentials so you can build the whole setup at once. Everything is professional grade, made in Michigan, and backed by a lifetime guarantee.
Frequently Asked Questions
Does stick flex really matter for a wrist shot?
Yes. Stick flex stores and releases energy, so it directly affects how hard you shoot. A flex that matches your size lets you bend the shaft and whip the puck, while a flex that is too stiff or too soft costs you power or accuracy. Matching your flex is one of the easiest ways to shoot harder.
Should beginners learn wrist shots or snap shots first?
Beginners should learn the wrist shot first. It teaches the core fundamentals – weight transfer, puck control on the blade, and follow-through – that every other shot builds on. Once the wrist shot feels natural, the snap shot is a quicker, more compact version of the same motion and comes along faster.
How many shots a day should I take to improve?
Aim for 50 to 100 focused shots a day rather than hundreds of sloppy ones. Quality reps with full mechanics build the shot faster than mindless volume. Consistency matters most – a set of deliberate shots every day off the ice will improve your power and release quicker than an occasional big session.
Ready to build a complete shooting setup at home? Explore our Dryland Kits